Showing posts with label Tutorials. Show all posts

Thursday, April 4, 2013

3 Tiered Cupcake Tower


I saw this idea on a blog a while back and I fell in love with it. It's so shabby chic. I never thought I was a "shabby chic" person with my decor but I really love to mix that in with other decorating elements. I'm not going to post the whole step by step tutorial on this blog because some awesome blogger already did it. You can find all the materials you will need as well as her awesome step by step tutorial here. I will include a few steps though.
My awesome hubby cut the rounds out. The sizes are:
14"
10.5"
7.5"
I actually had him make three sets.
One for a birthday gift for Kellie, one for my crafty friend, Candice and one for me of course!! 
On two of them we used the 1x4 boards and glued them together and then on the other one we just used one piece of wood and cut into a circle. The finished product was exactly the same, so I would save the extra work and spend a little more money for the whole pieces of wood instead of the planks like the tutorial above. Unless you have a bunch of wood lying around that you want to use.
The candlesticks I got at Hobby Lobby and the wood and finial I got at Lowes.
After the wood was cut, I primed it and painted the dark brown in the areas I knew I would want to show through. Then I used the vaseline technique found here.
This is the first time I used the "vaseline technique". I was super skeptical if it would work right, but guess what. It does! It's so stinkin easy too. I love the look of it. 


Then I sprayed my top coat and after that was dry I used a rag to rub off the paint where the vaseline was applied. And voila! Here is the finished product!

 
This can be used in lots of ways. I'm sure I will use it for lots of future parties on my table. It was a pretty easy and short project believe it or not. (That is if your hubby can cut the wood out!)
 
Enjoy!
Here are a few ways Kellie and I have used our towers over the last few weeks.


So leave a comment and tell me if you are going to make it and what you would use this tower for?

Saturday, February 23, 2013

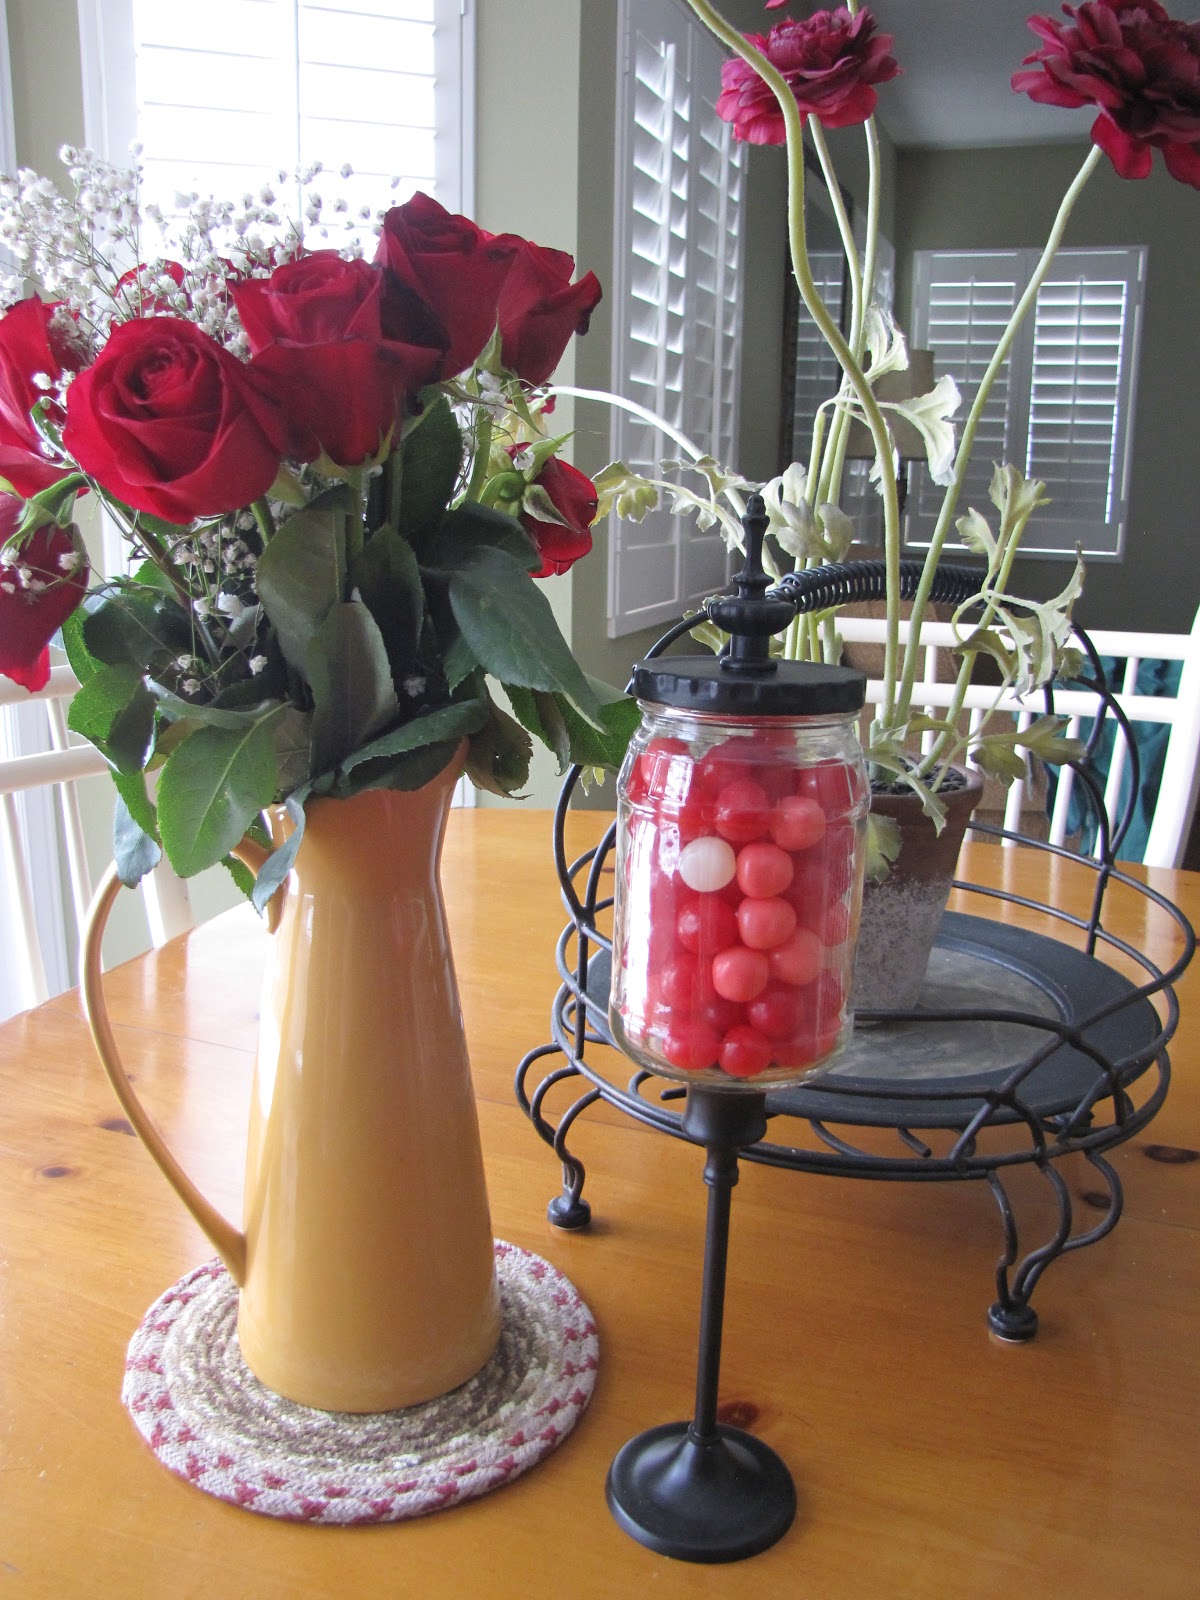
Pickle jar into Apothecary jar


I wanted to share a craft I recently made that was so easy and inexpensive. Kellie bought this cute apothecary jar (below) at a craft store and I knew I could make one just like it.

All you need for this project is:
Candlestick (used or brand new. I used one of each)
Pickle jar
Finial or knob for the top (I got mine at Hobby Lobby)
Spray Paint, if using a recycled candlestick
E6000 glue

For the first Apothecary Jar I used a gold candlestick I had purchased in a thrift store for $1. I spray painted it as well as the pickle jar lid and the finial all black. Then I used the E6000 glue to adhere to candlestick to the jar. For the lid I punched a hole using a screwdriver & hammer in the lid and screwed the knob on top of the jar.
 
The blue jar below was made from a candlestick I got at Hobby Lobby for 50% off. I wanted the lid to match the base so I spray painted the lid brown first, then after it dried completley I applied a small amount of vaseline to the areas I wanted to show the brown. After that I painted the lid blue and after it dried I rubbed off the paint where the vaseline had been applied and the brown comes through. The lid's paint job crackled a little bit because of the multiple paintings but I liked it and thought it looked a lot like the base. 
After that punch a hole in the lid and screw the knob through the lid. That's it! 
 
Now if for some reason you don't want to make these jars but still want an apothecary jar, we have plenty in our Etsy shoppe. Just click here

Have a great day!

Thursday, January 17, 2013

Tile "Cup of the Day" holder

If your kitchen is like mine there are always multiple cups all over the kitchen throughout the day. No one wants to take the chance of "brother or sister cooties" by drinking out of each others cups so instead they opt for a new cup.
 
NO MORE!
 
I was talking to a couple of my crafty friends about a home made Christmas gift that she made for her sister and as soon as she told me about it I thought of my messy, cup filled kitchen.

Fast forward to this week:
It was Craft Day again and my friend Candice came over to have a play date! She has two babies and my kids are all in school so we can only get together once every couple months to get our craft fill! She and I are both always on the lookout for new ideas. 
 
We started by geting a pre-cut board from Lowe's - Mine is 5 1/2" by 24" - It only cost about $3, Candice's was a little thinner and cost a little more.
 

Next we got 4x4" tiles from Lowe's - These tiles were only .33 cents each! My hope was to get some really cool tiles but all the "cool glass" tiles were special order so I decided to go with black. Candice went with white.  
We spray painted the boards and then cut the Vinyl out on my Sillhouette. I decided I wanted more decoration so I cut out the chevron stripes to adhere to my board and to the tiles in addition to the names.
Candice's is more modern with the teal blue and white. I also love that she had room to put "family cups" on her board:
This craft is super easy and only took a few hours.
Now my cups will be orderly and no sibling cooties for anyone! 

Monday, August 13, 2012

Back to School Homework Caddy

Hi everyone- As you can see, we took the summer OFF with our blogging. Don't worry though, we have been super busy throwing all sorts of parties and doing all sorts of decorating. We have plenty to show you!
I thought since it was Back to School time I would show you what I made for my kids this week -
Come 3 o'clock at our house it is usually a race to and from soccer, water polo, piano lessons, choir, drama - the list goes on and on! Homework time is thrown in the mix and when it's time for the kids to start their homework I was tired of them meandering around the house looking for a pencil, a stapler or a snack for 20 minutes! I decided to put them all in one place.
Introducing the homework caddy:
This is so simple to make. Start off with 3 pie tins. You can get them at any thrift store for about $1 each or you can buy a brand spankin new set.

Next get 2 candlesticks. They can be wooden or brass. Spray paint them your desired color - I went with bright yellow to match my kitchen.

The next part can be a little tricky. You need to use some math skills to measue where to place the candlesticks so that they all line up. You can eyeball it too, but it may look a bit off. Use E6000 or any eopxy to glue the candlesticks on and let dry.

Last, I bought a bunch of tins at the Target Dollar Spot and filled them with all sorts of school supplies. I even found some fun chalkboard tins.

Place your tins on the caddy, add some school snacks and there you go! You are ready for your after school Homework time.

If you want your own caddy but don't want to make it- I have one available in my ETSY store here or just click the shop ETSY link at the top of the page. I also take custom requests!
Enjoy!
Photobucket

Friday, April 20, 2012

Oreo Truffle Tutorial

Penguin Baby Shower 001

If you have made Oreo Truffles I am sure you are saying to yourself "Jen, why are you posting this? It's only the EASIEST thing ever to make!" I know, I know, but - every.single.time. I make these truffles for a party or get together I have several requests on how to make them. When I tell them there are only 3 ingredients I hear "but I can't dip them!"
So...Here is a step by step tutorial on how to make Oreo Truffles. You'll wow your friends, co-workers, in-laws...whatever it takes!
This does not take long, I think I can make them in less time it takes to clean the dishes you used, but it does have several steps.

Here are your ingredients, yes, this is it!
Photobucket

Crush the entire package of Oreo's in a food processor (if you don't have a processor I have heard a blender works as well) You want the Oreo's to be very finely crushed like this:

Photobucket
Next you can let your cream cheese soften a little if you want but I always forget and have never had a problem. Mix the crushed Oreo's and cream cheese together. Start slowly and add cream cheese in chunks or you might have Oreo's jumping out of your bowl!
After they are mixed well and look like this you are ready to dip!
Photobucket
I use a small cookie scoop but you can make them as big or as small as you want.
Photobucket
Remember that they need to fit in your candy cups and the chocolate coating does add to their size. Place each ball on parchment paper.
Photobucket
Each recipe makes approx 35 truffles. (Again, depending on the size you make) After you scoop and make the balls put them in the freezer for at least 1 hour but after they are frozen you can bag them up and keep them in the freezer for months before you dip them!

When you are ready to dip, melt your chocolate in a glass bowl - I just melt mine in the microwave and have never had a problem with the chocolate getting hard but some prefer to use a double boiler. Now to dip - my special trick is to throw the ball into the chocolate and using a fork
Photobucket
turn the ball over so that it is covered in chocolate and lift the fork and ball up out of the bowl and gently tap your wrist on the side of the bowl, which will tap the fork and in turn the excess chocolate will fall back in the bowl.
Photobucket
Photobucket
Slide the fork as best you can onto the parchment paper and don't worry. I know it will look ugly and messy and you'll think you didn't do it right. Not true. Look at mine.
So the big trick here to make it look all pretty is the drizzle and the candy cups. Both a must! Put some chocolate chips (or vanilla chips if you are doing milk chocolate truffles - really you can be as creative with color as you want. You can even add sprinkles.) 
Photobucket
Melt the bag in the microwave until just melted. Maybe about a minute or so. Stop after 30 seconds to mush the bag around so they don't burn.

When you are ready to drizzle I suggest you drizzle more then one at a time. Drizzling on just one can cause clumping of the chocolate. I usually do 2 at a time and move to the next two. Very easy!
Photobucket
Photobucket
After the drizzled chocolate hardens (you can put in the fridge for a while if you want to speed up the process) then place in a candy cup.
Now look how pretty these look. Hard to believe they are the same as those blobs from earlier right?
Photobucket
Photobucket
Voila! You are done!
I have had numerous people think these were purchased and not home made and they are always shocked when I tell them I made them.
Enjoy making Oreo Truffles. Let me know how yours turn out!!!


Photobucket

Wednesday, March 28, 2012

Fortune Cookie Birthday Gift

My son's kindergarten teacher, Karen's birthday was this past week.
(At my kid's school the kids and parents call their teachers by their first name)
Photobucket
 I was given the task to come up with an idea. I wanted to do something fun for her but also something from the kids. I heard she liked Mikuni, which is a Japanese Restaurant here in my town. I decided to do "chinese food" take out boxes, chop sticks and home made felt fortune cookies. (I realize this is chinese food, not Japanese food.....my creativity only goes so far!)
I thought it would be fun if each child in the class told Karen what they thought her future held. I got some fantastic fortunes! These kids are hilarious. I thought I would post their fortunes along with some pictures from the day as well as instructions on how to make these super easy fortune cookies!
Here are the fortunes:

You will play outside making silly faces

It will be sunny on your birthday and it will always be fun

You are going to be the best teacher ever

You will have a habitat of butterflies that live forever

You will teach forever and never retire and never get older

I wish you could fly like a fairy and have a magic wand so you can have more wishes!

You will be happy traveling with your family to places you have never been to see new things

This year instead of traveling to Lego Land, you will go to the snow and see snow men and snow dogs.

You will have all the dinosaurs stuffed animals that you ever want.

In the future you will still be teaching and wanting to catch a leprechaun

This year you will get many flowers and a pet

I wish that you will find a pot of gold and your lost earrings

You will live forever, and ever, and ever, and ever, go to Lego land and you will get all the chocolate in the WORLD!
You will stay pretty forever, live by the ocean & have a very special year

I would wish that you will be the smartest teacher ever, you would teach third graders & you could do everything that God told you

You may be a good fortune from the world

You are good for lending a hand

You will get a thousand dollars when you're older

All your wishes will come true!

I know that you will be happy

You will get to go to Disneyland & you are going to become a dancer!

I wish you will have the best Kinders ever

I predict you will be a cheerleader!
You will figure out somehow how to find a buried treasure

You will have much chocolate and someone to share it with!

My wish for you would be the kinders will always be nice to you.

I want your fortune to be good luck.

XOXOXO

I Wish for you to be going to Disneyland for six years

My wish is that you had a big big butterfly room with flowers and one more thing I want you to be on TV
You will get a teddy bear for Christmas & go to Disneyland

Your son's will surprise you with cupcakes!

A man with brown eyes has a surprise for you!

Have a look at the sky and you will see birds

You will get a new dog!

This year you will have a happy Christmas.

I wish for you to have lots of red flowers!

You will find many treasures, X marks the spot – I love you!

May there be many puppies in your future & may you one day be a mermaid

I wish you will get cool toys!

You will live forever

You will become a library girl and then you can sell books!

I would wish that you could go to Disneyland

I wish you would get a new shirt with a new headband

You will get a dog!

I wish you to be plentiful in friends

I predict that there will be lots of Joy in your future" (IE: tickling, surprises and sharing)

I wish for you the best birthday ever

Your future is sparkly and bright like gold

It appears she will definatley be going to Disneyland and getting a new dog....at least! WOW!

    I found the tutorial for these fortune cookies here - They were actually pretty easy to make. A little time consuming when you make 50+ but luckily my mom was here visiting so I put her to work! Here what they look like before you fold them
Photobucket
Photobucket
Here is the finished product! So fun and easy!
Photobucket
Photobucket
Photobucket
Give them a try! You could use them for so many different things!! Enjoy!
Photobucket