Friday, April 20, 2012

Oreo Truffle Tutorial

Penguin Baby Shower 001

If you have made Oreo Truffles I am sure you are saying to yourself "Jen, why are you posting this? It's only the EASIEST thing ever to make!" I know, I know, but - every.single.time. I make these truffles for a party or get together I have several requests on how to make them. When I tell them there are only 3 ingredients I hear "but I can't dip them!"
So...Here is a step by step tutorial on how to make Oreo Truffles. You'll wow your friends, co-workers, in-laws...whatever it takes!
This does not take long, I think I can make them in less time it takes to clean the dishes you used, but it does have several steps.

Here are your ingredients, yes, this is it!
Photobucket

Crush the entire package of Oreo's in a food processor (if you don't have a processor I have heard a blender works as well) You want the Oreo's to be very finely crushed like this:

Photobucket
Next you can let your cream cheese soften a little if you want but I always forget and have never had a problem. Mix the crushed Oreo's and cream cheese together. Start slowly and add cream cheese in chunks or you might have Oreo's jumping out of your bowl!
After they are mixed well and look like this you are ready to dip!
Photobucket
I use a small cookie scoop but you can make them as big or as small as you want.
Photobucket
Remember that they need to fit in your candy cups and the chocolate coating does add to their size. Place each ball on parchment paper.
Photobucket
Each recipe makes approx 35 truffles. (Again, depending on the size you make) After you scoop and make the balls put them in the freezer for at least 1 hour but after they are frozen you can bag them up and keep them in the freezer for months before you dip them!

When you are ready to dip, melt your chocolate in a glass bowl - I just melt mine in the microwave and have never had a problem with the chocolate getting hard but some prefer to use a double boiler. Now to dip - my special trick is to throw the ball into the chocolate and using a fork
Photobucket
turn the ball over so that it is covered in chocolate and lift the fork and ball up out of the bowl and gently tap your wrist on the side of the bowl, which will tap the fork and in turn the excess chocolate will fall back in the bowl.
Photobucket
Photobucket
Slide the fork as best you can onto the parchment paper and don't worry. I know it will look ugly and messy and you'll think you didn't do it right. Not true. Look at mine.
So the big trick here to make it look all pretty is the drizzle and the candy cups. Both a must! Put some chocolate chips (or vanilla chips if you are doing milk chocolate truffles - really you can be as creative with color as you want. You can even add sprinkles.) 
Photobucket
Melt the bag in the microwave until just melted. Maybe about a minute or so. Stop after 30 seconds to mush the bag around so they don't burn.

When you are ready to drizzle I suggest you drizzle more then one at a time. Drizzling on just one can cause clumping of the chocolate. I usually do 2 at a time and move to the next two. Very easy!
Photobucket
Photobucket
After the drizzled chocolate hardens (you can put in the fridge for a while if you want to speed up the process) then place in a candy cup.
Now look how pretty these look. Hard to believe they are the same as those blobs from earlier right?
Photobucket
Photobucket
Voila! You are done!
I have had numerous people think these were purchased and not home made and they are always shocked when I tell them I made them.
Enjoy making Oreo Truffles. Let me know how yours turn out!!!


Photobucket

Tuesday, April 17, 2012

Extra! Extra! Read All About IT

Teacher Appreciation Week 
Sneak Peak

Photobucket


Next week is our elementary school's Teacher Appreciation Week.  Our PTA committee has come up with some POW-erful plans including Super Hero meals and activities for each day of the week.  Stay tuned for all the NEWS. 

Photobucket

Just a Sweet Little Thank You

Scrumptious Thank You Cupcake

Photobucket

I attended an end of year PTA meeting today and to say thank you the council president gave each of her board members this cute little cup holding a delicious cupcake.  She cellophaned each gift with a matching ribbon. 
 Simply beautiful.

Photobucket


Clever and Cute Cookie Box Thank You
Another thank you came from my favorite cake lady Katherine at Katherine's Kreations  She created a thank you cookie placed in a custom made box for every PTA person there. That's ALOT of cookies!  Nice work Katherine. Her husband asked her at 11:00 PM last night what she was doing...oh the things we do for fun!

Photobucket

Photobucket

Photobucket

Monday, April 2, 2012

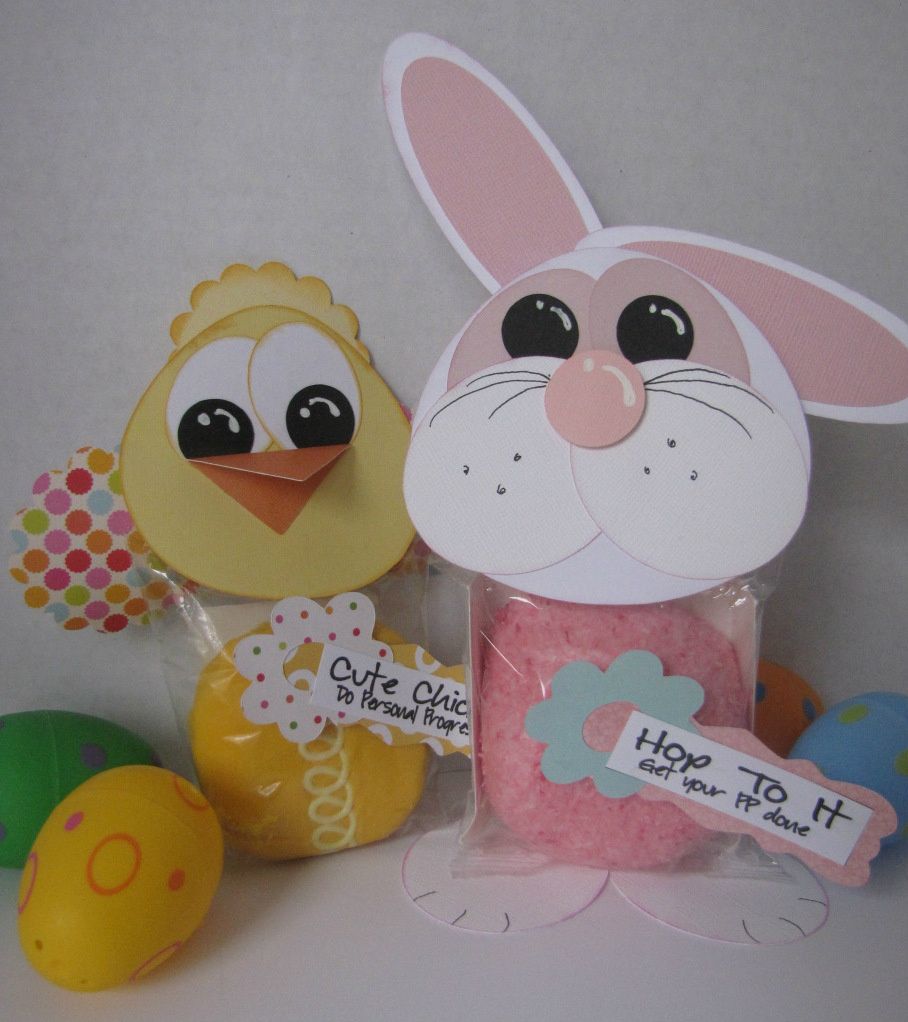
Cute Chicks Do Personal Progress

To encourage work on Personal Progress this week, each young woman was given a value challenge. The value challenge was written on a small piece of paper and tucked inside a plastic Easter Egg. Also included in the egg was a chocolate bunny and a few jelly beans. All the filled eggs were then placed in a rod iron bird cage with a green sash that was a reminder of the value for the month--Knowledge. The bird cage was dangled in front of the young women as they were given their challenge and then told if they could accomplish the challenge by the following Tuesday they would be rewarded with a fun Spring yummy.

Photobucket

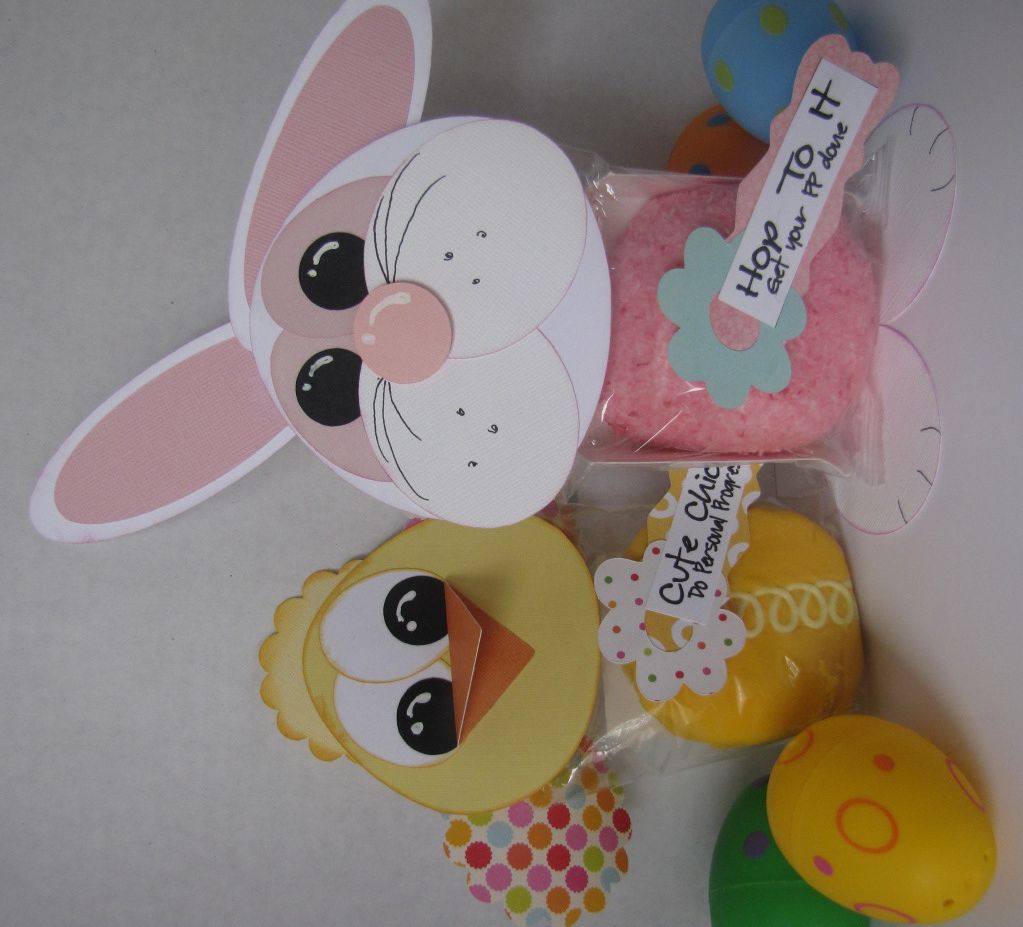
This is what is awaiting them if they accomplish their value challenge...
CUTE CHICKS DO PERSONAL PROGRESS!

Photobucket

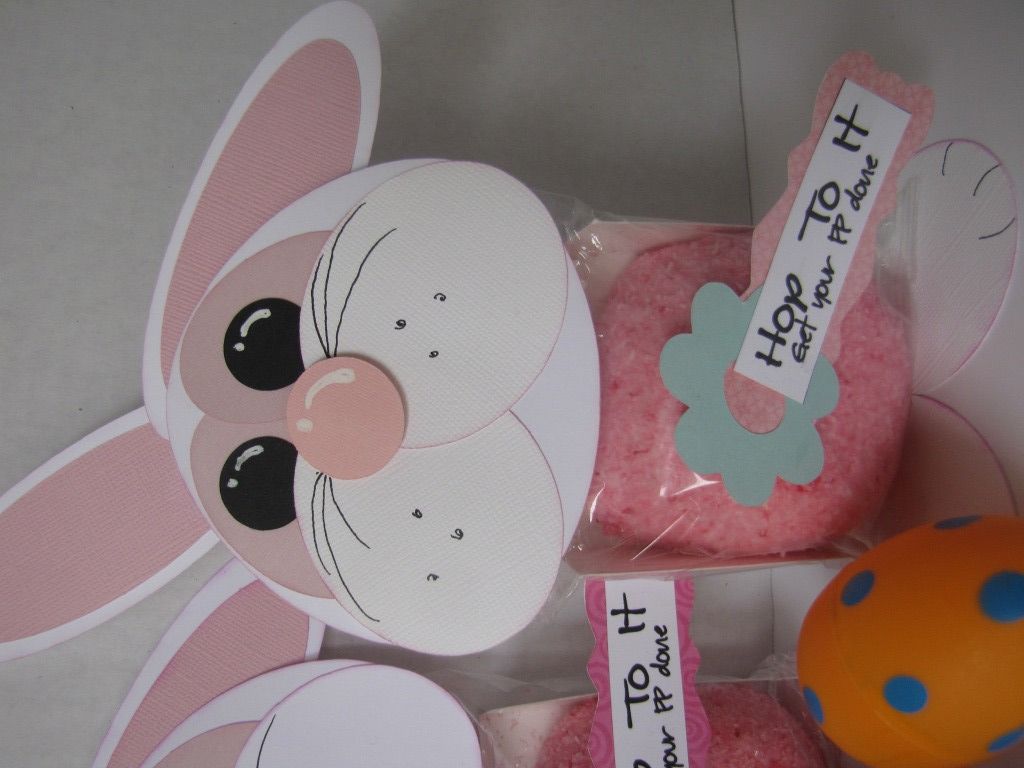
For those who didn't quite make it they will receive a bunny with an important message...
HOP TO IT!

Photobucket

Bunnies and Chicks! This is the website that inspired the project: http://www.stampingwithangie.blogspot.com/
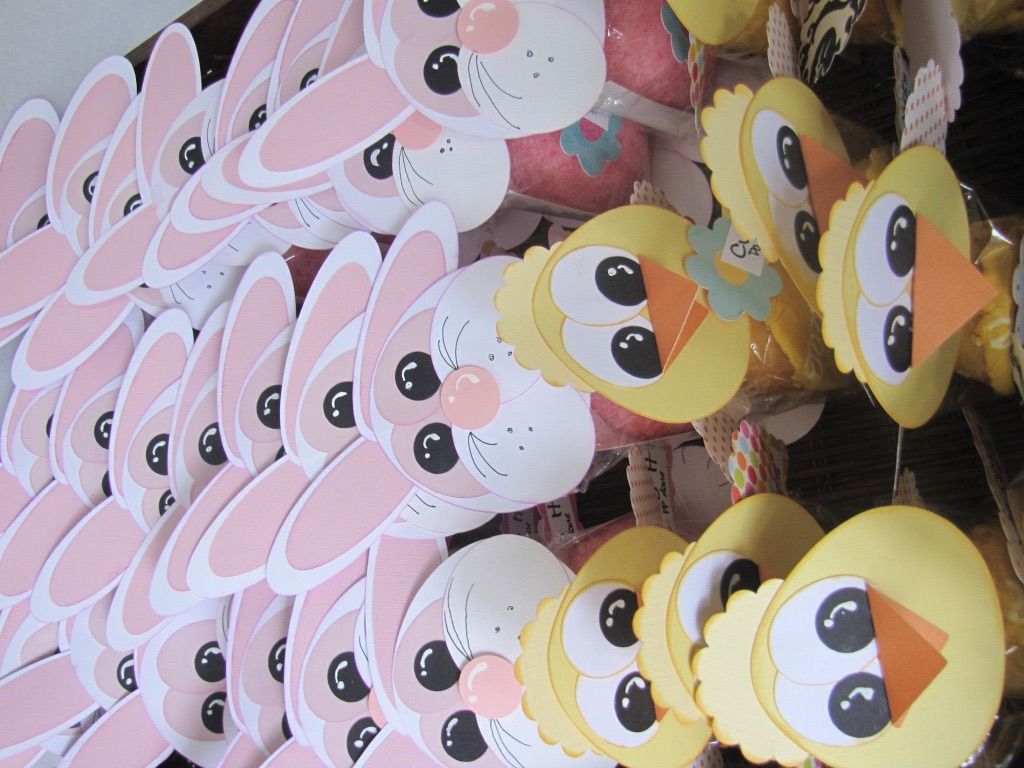
And the bunnies seemed to reproduce lots faster than the chicks! Not surprised at that?

Photobucket


If you have a Cricut or some kind of automatic cutting machine the project puts together fast. If not, it's a bit of cutting.

Cricut cartridges used: A Child's Year, Celebration, Paper Doll Dress Up, George & Basic Shapes.
ek tools-2.25 in. Scallop circle (for cone of chicken)

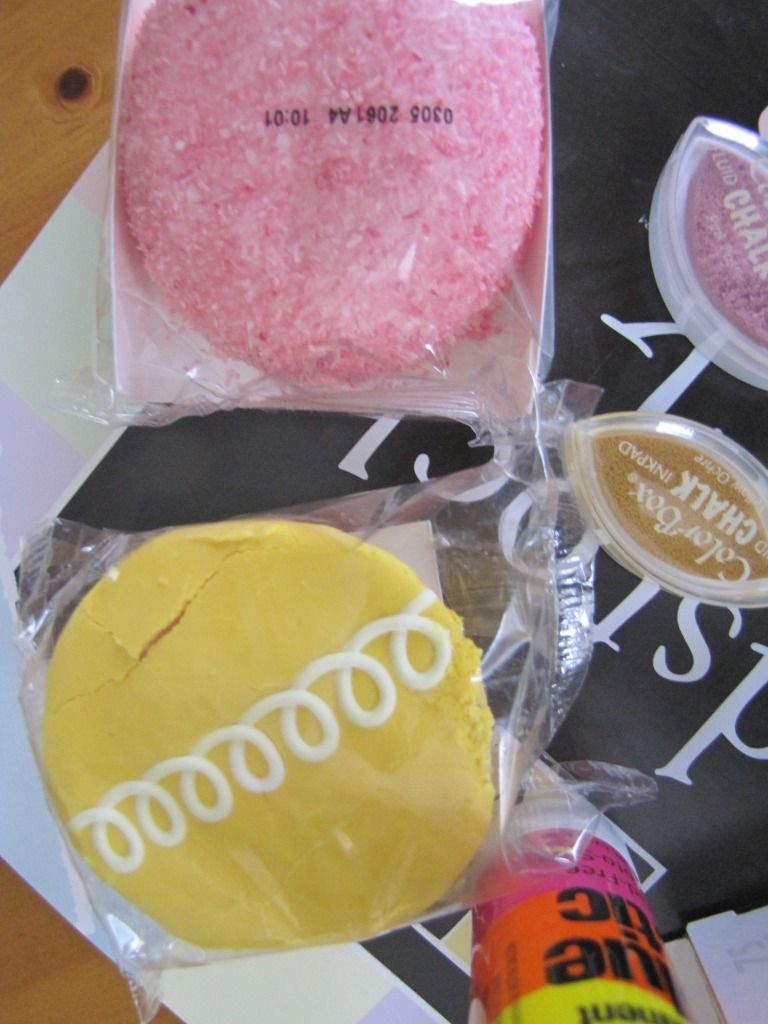
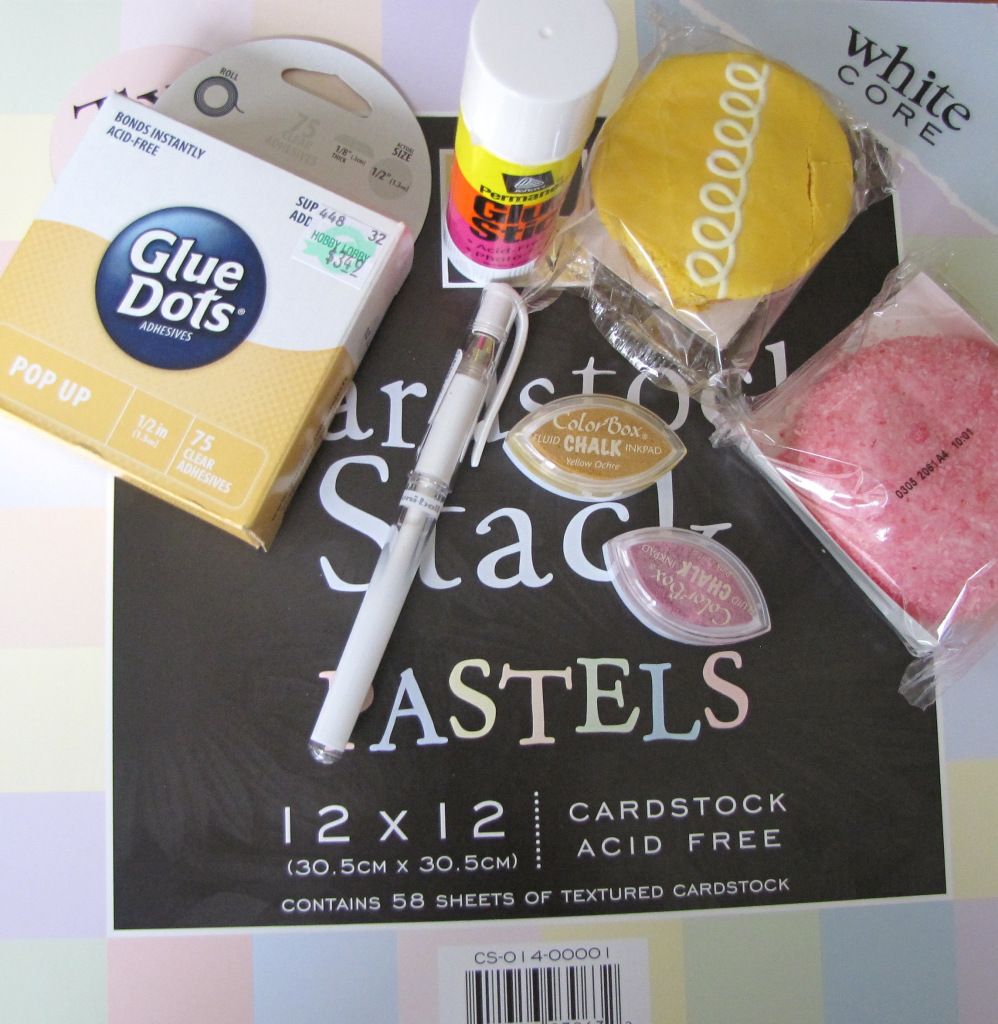
Edible parts of the project: Hostess Yellow Cupcakes (8 individually wrapped in package), Pink Snowballs from Wal-Mart (12 individually wrapped in pkg.)

Photobucket


Other materials needed:
1/2 in. Glue dots (to help give the nose a 3-D look and to help position head, wings and paws to body)
Color Box chalk to help shade
Glue stick
Pastel Colored Card Stock
Black Card Stock (for eye balls)
White Gel Pen (for eyes)
**All of these items were found at Hobby Lobby


Photobucket


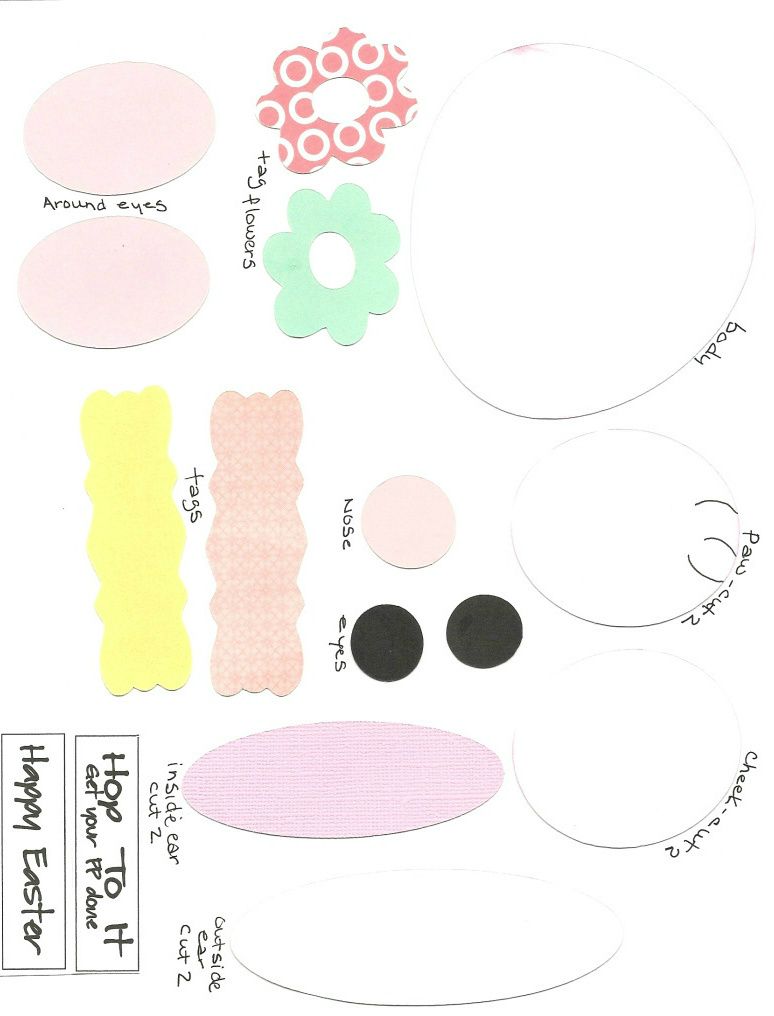
Here is a template to use if you don't have a cutting machine.

Photobucket


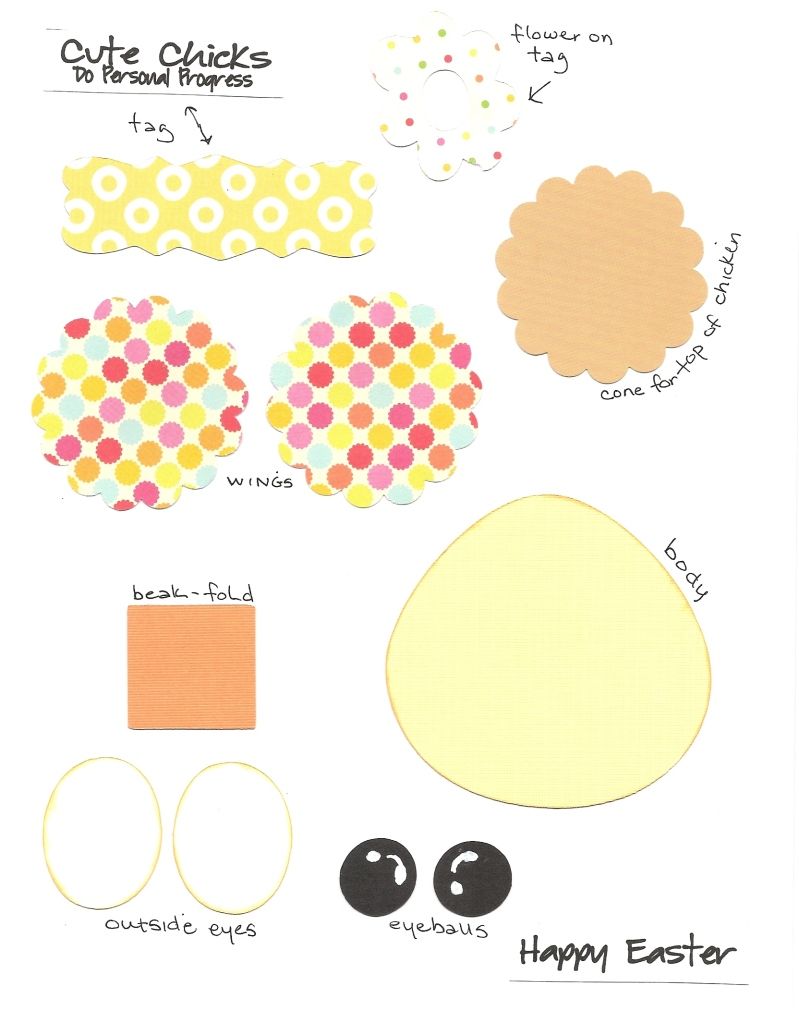
The Chic template

Photobucket
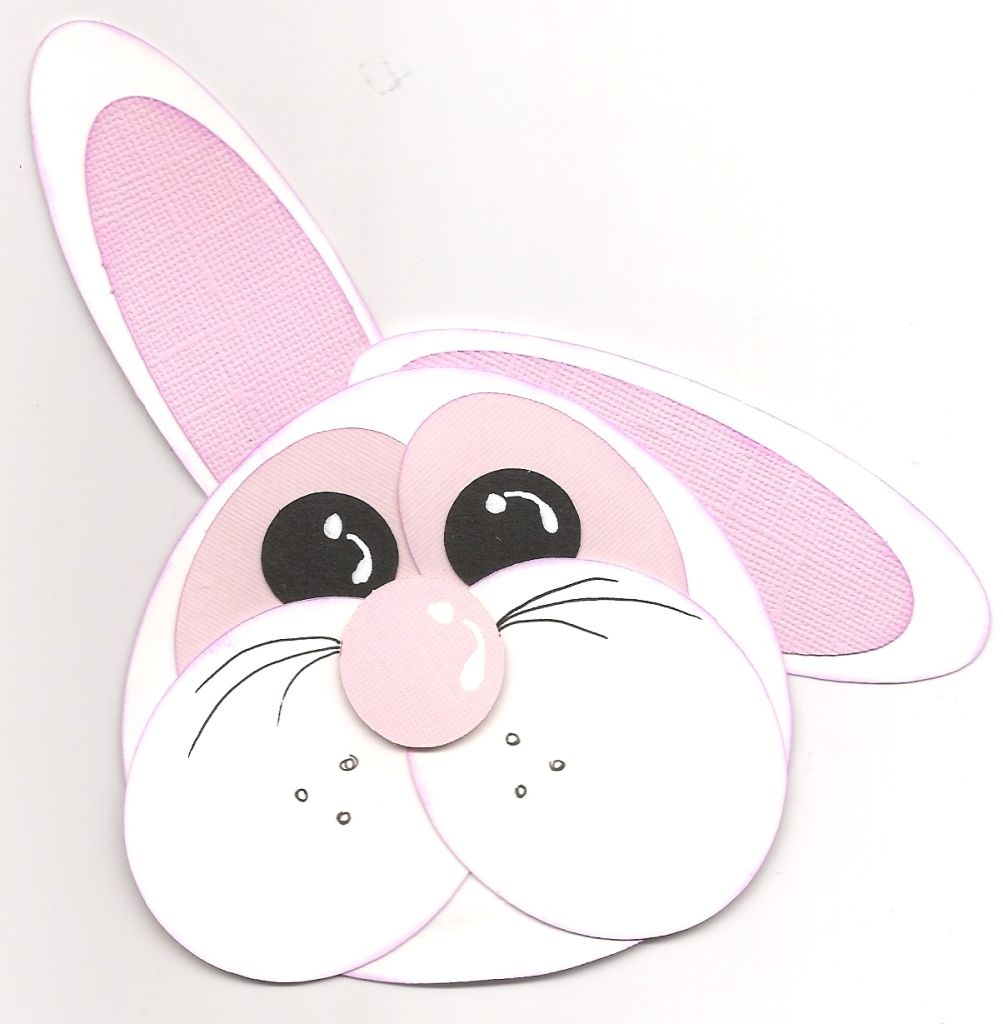
If you'd rather not spend the next few days cutting...
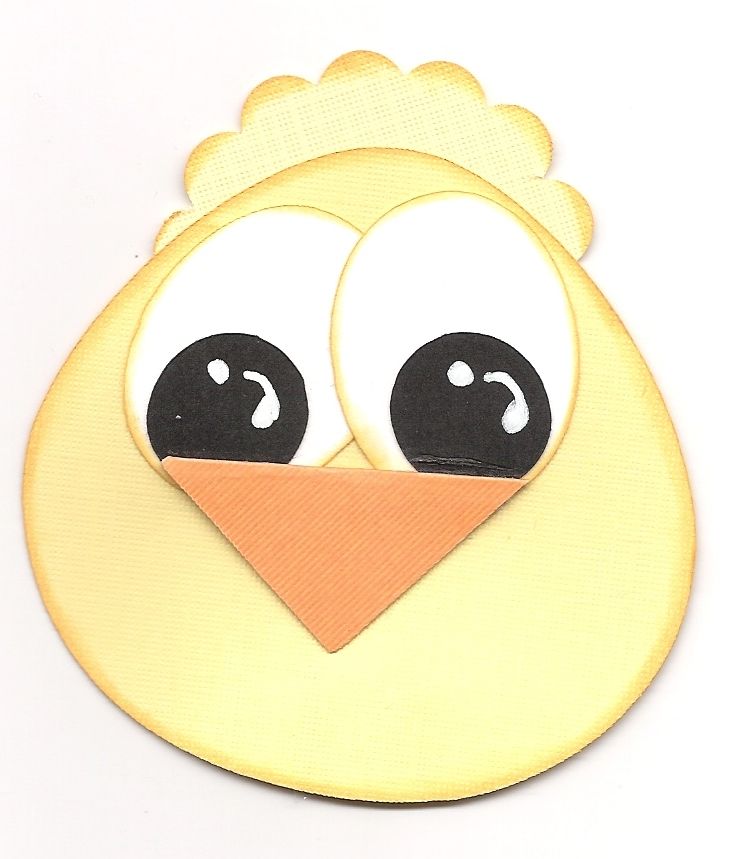
here are the cute heads...can add 3-D elements to create a fun look.

Photobucket


Photobucket

So if you're in the mood for cute bunnies and chicks...
HOP TO IT!

Photobucket


Photobucket

and Happy Spring!

Photobucket