
My friend Rachael recently threw this FABULOUS Tea Party for her cute daughter. I asked her to Guest Post today. This girl knows how to stretch a dollar! Be sure and check out her cute tea party hat tutorial at the end of the post!

I am so excited to do this guest post today. I love this blog, so to be featured on it, is amazing!
It wasn’t long ago that I was speaking with a crafty friend of mine and I had told her that one day I wanted to throw some sort of party and only use items from the dollar store. I envisioned a thrifty décor with guests wearing wife beaters, cut off jeans, and drinking soda straight from the can. What I didn’t realize at the time was that one can actually use many items from the dollar store to throw an awesome party for little money!
Apparently, my husband and I weren’t thinking when we planned for our last two children. One was born 6 days before Christmas and the other was 8 days after Christmas. You can only imagine the energy I have this time of year to throw Pinterest worthy parties. Let’s face it, if I can get presents wrapped and under the tree before Christmas Day, it’s a good year! So, with the help of too many diet Pepsi’s and maybe even one or two Rockstars, a Tea Party theme was chosen and Carly’s 5th birthday party was in the works.
The invitations set the tone for an elegant party. I used paper, fonts, and swirly graphics from Lettering Delights. I love how they turned out:

I am a big believer that less really is more. The dining room table was the main focus of the party and I was able to dress it up tea party style for just over $65! Here’s how:
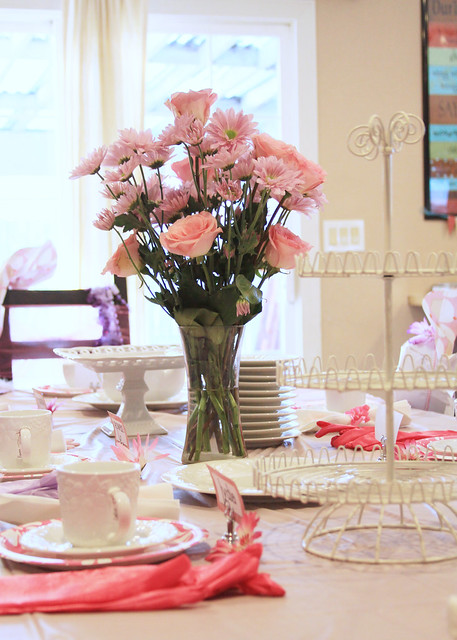
~Pink tablecloth from Hobby Lobby, $3
~Pink and Lavender flowers in a vase for the centerpiece and pink and white decorative food plates from Walmart, $13 (vase was mine)
~Tissue paper pom poms hung from the ceiling made by my oldest daughter, $3
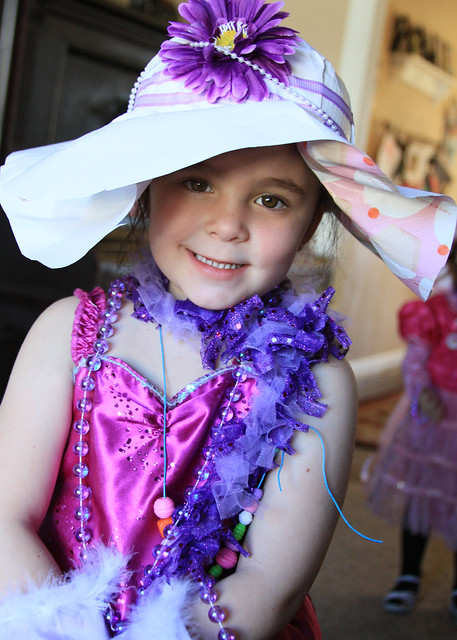
~Gloves, necklaces, bracelets, and boa’s for 8 girls from the dollar tree and 99cent store, $24
~Tea cups, saucers, and tea pot from Eco-Thrift, $11
~Tea Hats for 8, $11.44 (Video tutorial below)
~Pink and White Organza chair bows, Free (borrowed from a friend)
~White Food platters and towers, Free (borrowed from a friend)
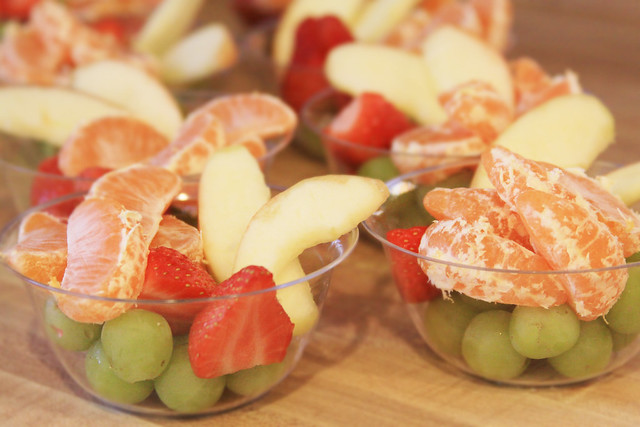
The food was in true tea party fashion. We had:
~Apple juice for tea
~Triangle sandwhiches, Pb&J’s as well as ham and cheese.
~Jelly filled scones
~Fruit:
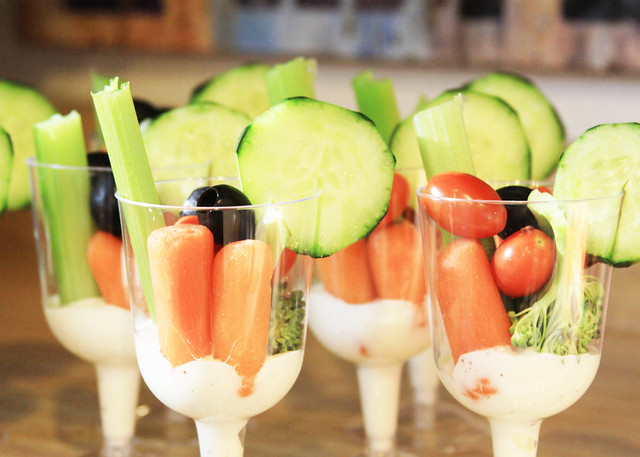
~Vegies and dip:
I didn’t go overboard on the food. We are talking 5 year old little girls. They hardly eat anything anyway.
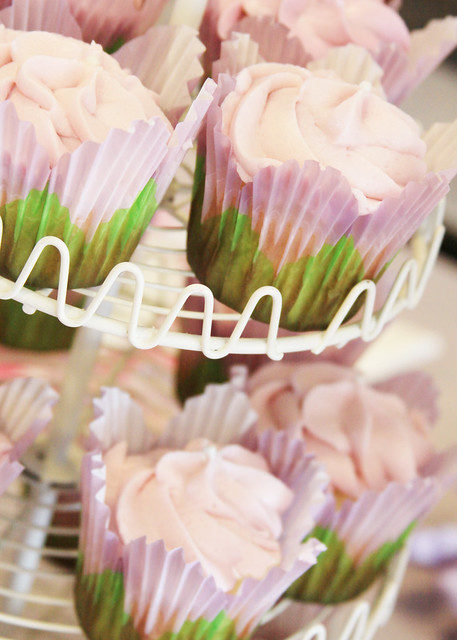
I usually do cupcakes for dessert because it’s cheaper. You don’t have to have forks and plates and I just like the way I can use the cupcakes as part of the décor. I hired our old babysitter to make the cupcakes. She charged me for the supplies which was only $10. I gave her $20. Those cupcakes were the best cupcakes I have ever eaten. Homemade frosting that just melted in my mouth. They were seriously gourmet quality. I would have had to pay an arm and a leg and perhaps my first born child for cupcakes as good as those and they came from a teenage girl!
I made these cute little strawberry ice cream hearts:
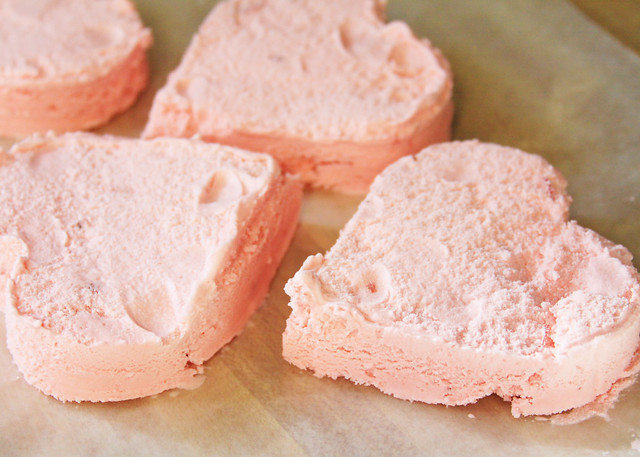
Here’s the how to:
~One tub/box of Strawberry Ice Cream (ice cream that comes in a box is much easier to use for this project)
~One tin foil brownie/lemon bar disposable baking dish (the really shallow kind)
After letting the ice cream thaw on counter for about 30 minutes, cut the box off of the icecream and while using a spoon or your waxed paper covered hand, smoosh and reform the icecream into the tin foil pan. Make sure the ice cream is evenly spaced and tightly packed. Place wax paper over the top and refreeze overnight. The next morning, use a knife and score along the edges of a pan. Carefully remove the ice cream from the pan onto more wax paper. Use any shape cookie cutter like you would for sugar cookies and Voila! Cute shaped ice cream treats! Please note that depending on how many people you are expecting to serve, you may need to adjust the quantity of ice cream boxes and foil pans.
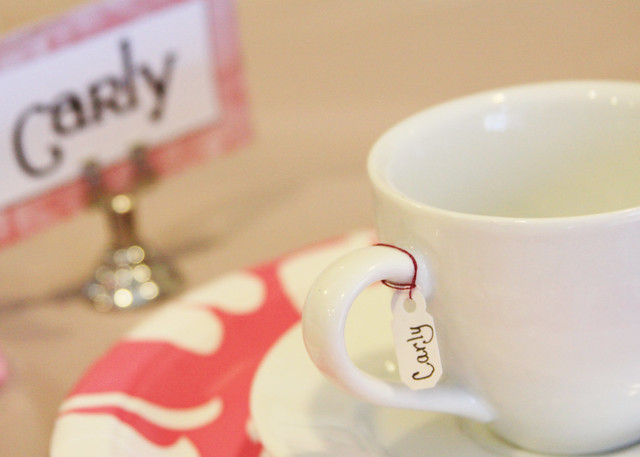
The party was scheduled for an hour and a half. The girls made beaded necklaces, then we did our tea party. After that, we opened presents and had cupcakes and ice cream and then it was time to go. I had also planned a cookie decorating activity, but we never got to it and both Carly and I were ok with not doing it. I loved how short and simple this party was. I didn’t stress over it and it was seriously Pinterest AND Chocolates for Breakfast worthy! The girls got to take home their jewelry, gloves and boas as well as their tea cup and saucer. I also threw in a pair of princess socks I got for $1 at Michaels. I enlisted the help of my 13 year old daughter to clean the cups and put the bags together using the name cards I used on the table while presents were being opened. The best part about planning this party was that I was able to pull it off for just over $100! Not too shabby for entertaining 8 little girls and a few adults at a tea party fit for a 5 year old!
I loved making these hats:
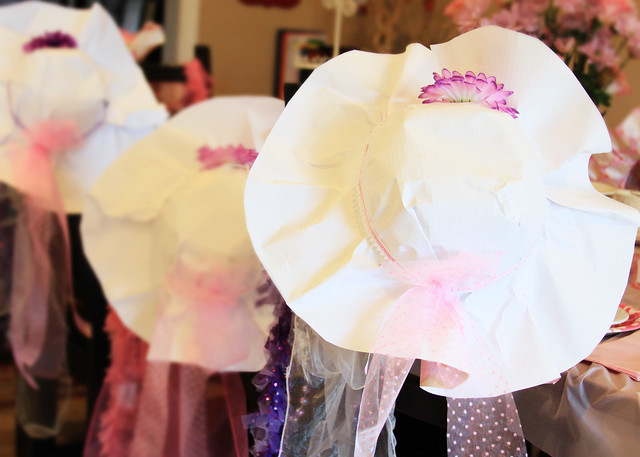

I looked everywhere for hats to use for this party, but no one sells them this time of year and if they did, I’m sure they would have been more money than I wanted to spend, so I made my own, and after a few different models were made, I created such an awesome hat, that I just had to do a video tutorial for it!
Enjoy!
Hi I'm Heather! Please email me when you get a chance, I have a question about your blog! LifesABanquet1(at)gmail.com
ReplyDeleteRachael, you're amazing!!!
ReplyDelete